


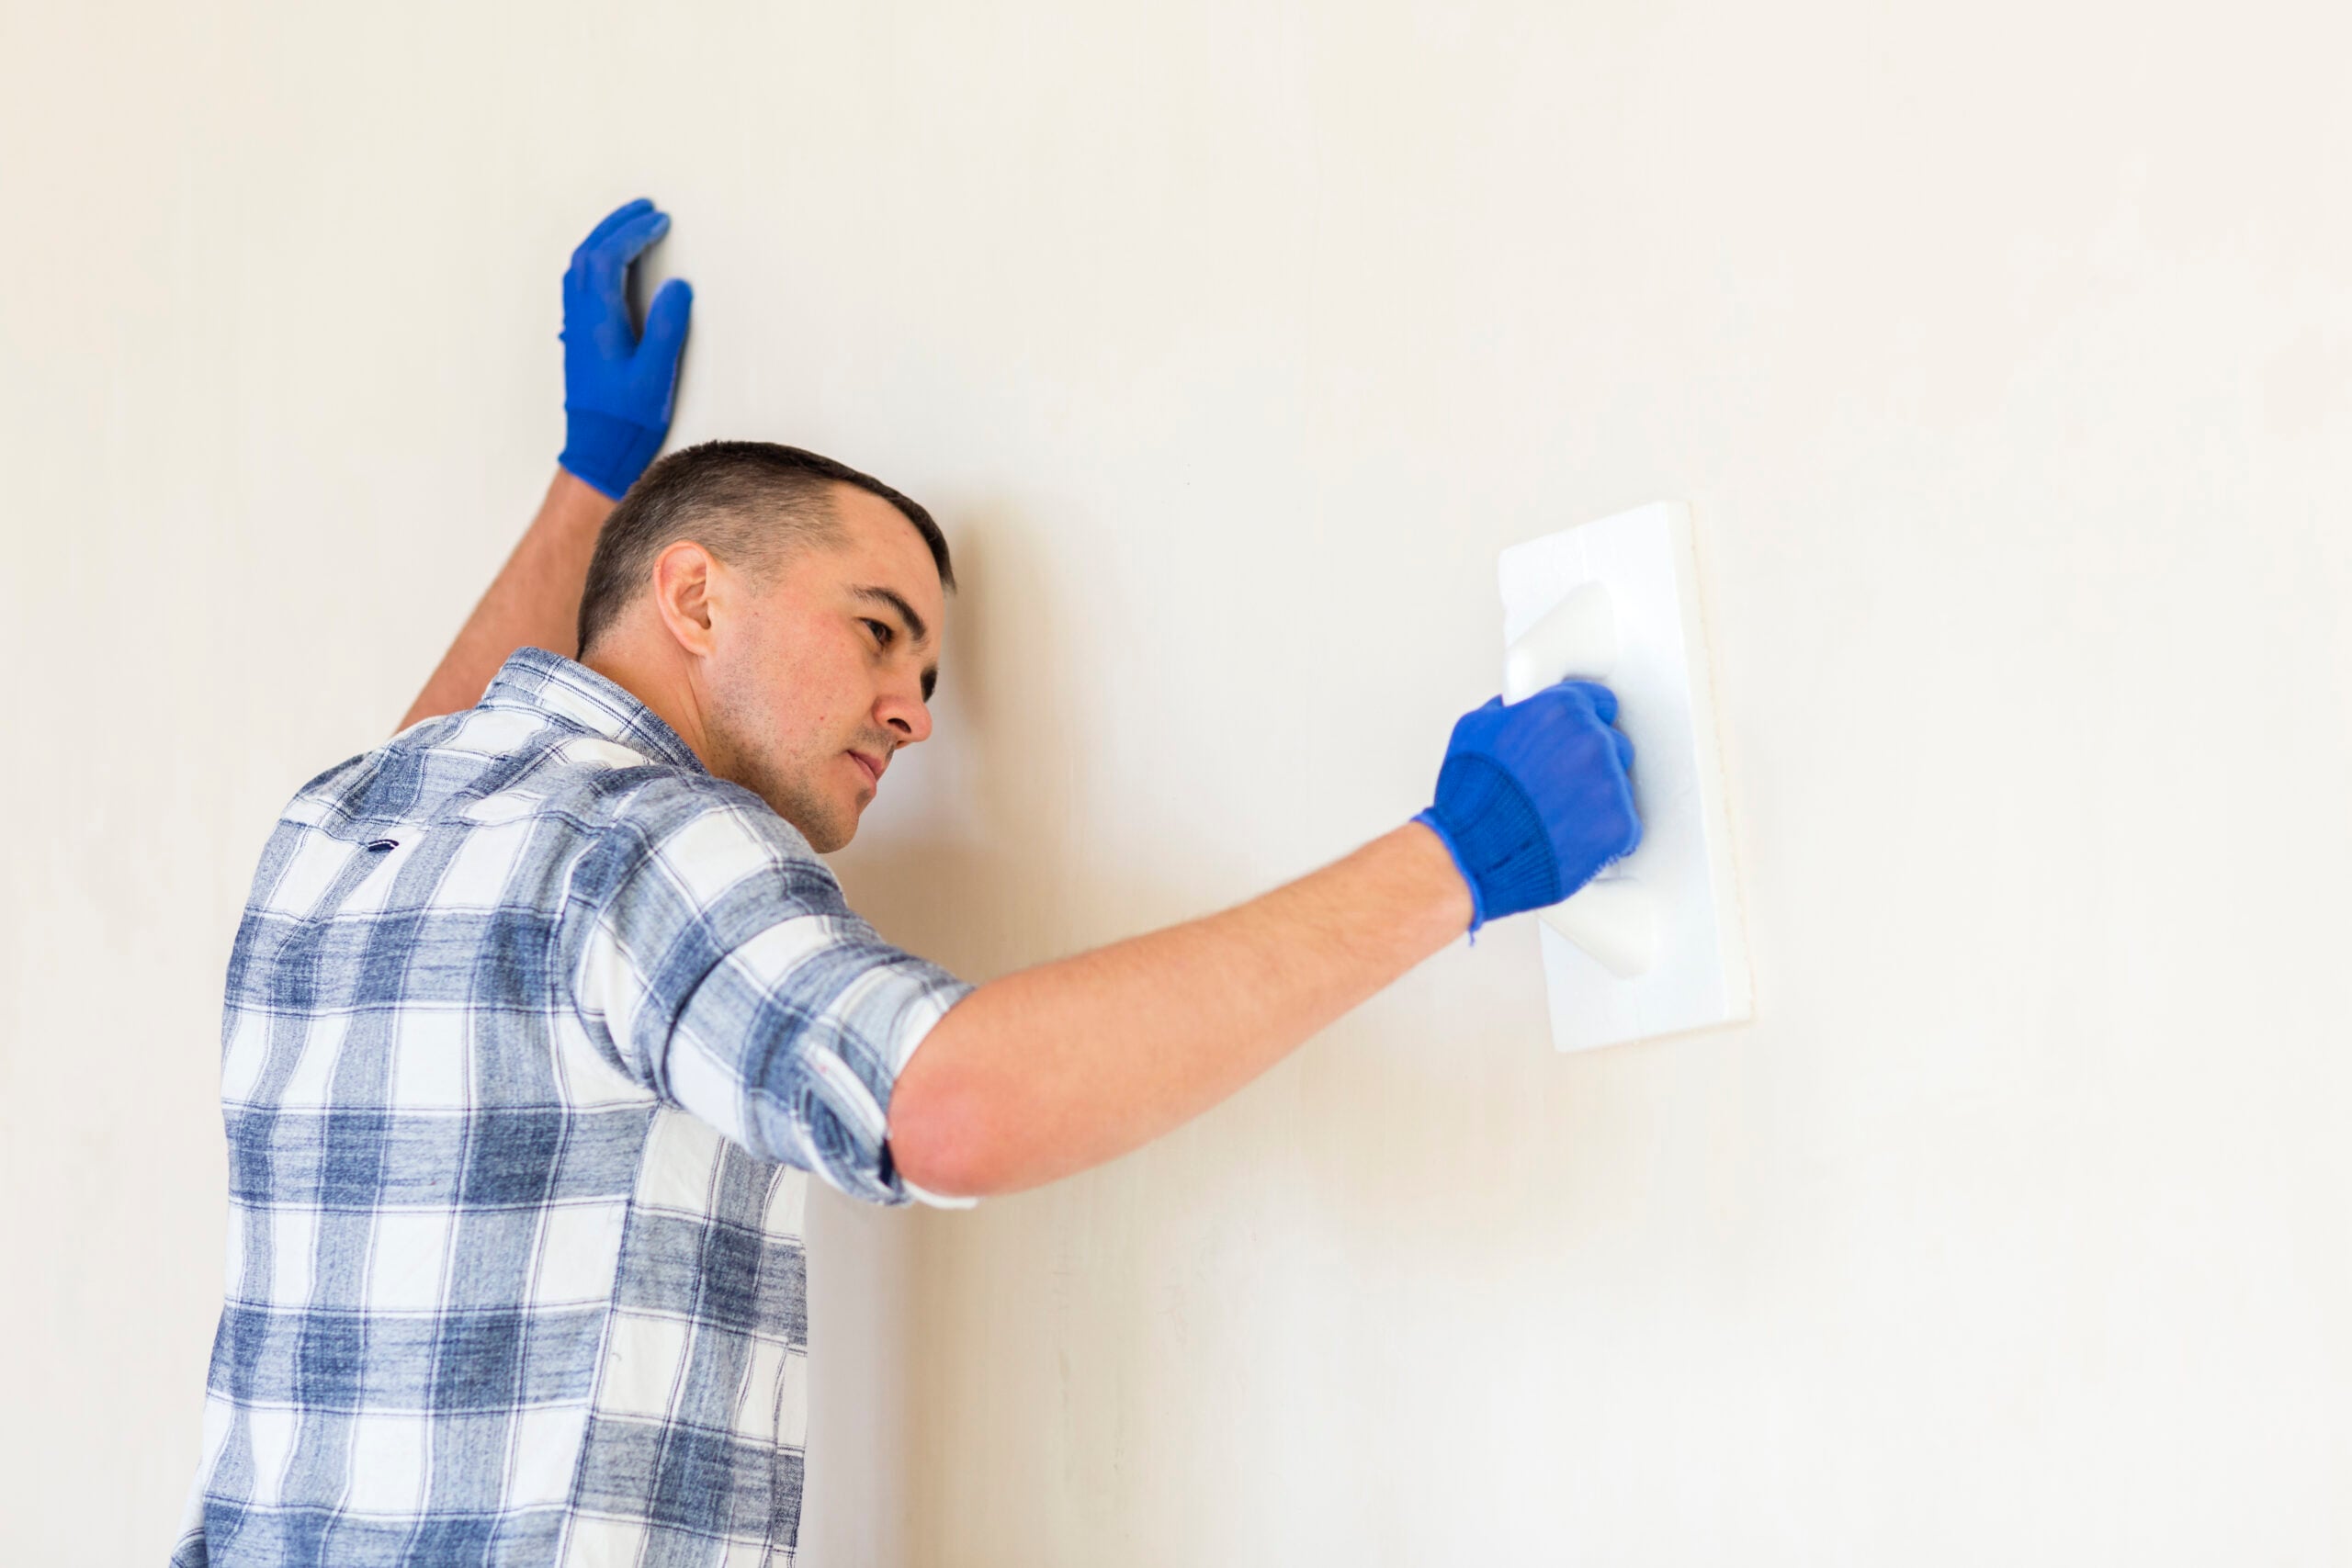
A step-by-step guide for Canadian homeowners who want a smooth, long-lasting finish
A fresh coat of paint can transform a room in a single weekend — but the secret to a professional-looking finish isn’t the paint itself, it’s what happens before the roller ever touches the wall. Skipping prep work for painting walls is the number one reason DIY paint jobs peel, crack, or look patchy within months, especially in Canadian homes that deal with dry winter air and humid summers.
At Star Painting, we’ve prepped thousands of walls across Toronto, Mississauga, and Scarborough, and the process below is exactly what our crews follow on every job. Whether you’re painting one accent wall or an entire home, here’s how to get it right.
Paint doesn’t stick well to dust, grease, or glossy surfaces. Without proper prep, you’ll likely see:
Taking a few extra hours to prep now saves you from repainting the same wall again next season.
Before anything else, move furniture to the centre of the room or out entirely, and cover floors and remaining furniture with drop cloths. Remove outlet covers, switch plates, and any wall hardware or curtain rods. It’s much easier to paint (and clean up) an empty, protected room than to work around obstacles.
This is the step most homeowners rush through, and it’s the one that matters most. Paint needs a clean, dry surface to bond to — dust, cobwebs, cooking grease, and handprints will all show through your finish or cause the paint to lift later.
Here’s how to clean walls before painting the right way:
Once the wall is clean and dry, inspect it closely under a bright light (raking light from the side reveals imperfections paint alone won’t hide).
Sanding walls before painting isn’t just for repaired spots — it’s an important step for the whole surface, especially if the walls have a glossy or semi-gloss finish, visible texture, or old paint drips.
What to sand and why:
After sanding, dust will settle back onto the wall — this is why the cleaning and sanding steps often need to happen together, finishing with one more wipe-down using a tack cloth or slightly damp rag before priming.
Apply painter’s tape along baseboards, window and door trim, and ceiling lines. Press the edges down firmly to prevent bleed-through, and use a putty knife to seal the tape edge for the crispest lines possible.
Primer isn’t optional if you’re:
A quality primer evens out the surface, helps your paint colour appear truer, and often means one fewer coat of the actual paint is needed.
Because Canadian homes swing between dry winter heating and humid summer months, walls — especially in basements — can hold more moisture than they appear to. Always check that walls are fully dry before painting, and if you’re prepping a basement, run a dehumidifier for a day or two beforehand for the best results.
Proper wall prep takes real time — often as long as the painting itself — which is why many homeowners choose to bring in professionals for larger rooms, basements, or whole-home projects. At Star Painting, every job starts with the same thorough prep process outlined above: cleaning, repairing, sanding, and priming, so the finished paint job looks better and lasts longer.
Planning a painting project in Toronto, Mississauga, or Scarborough? Request a free quote and our team will handle the prep work and painting from start to finish.
Star Painting is committed to providing superb painting services that go above and beyond your expectations, whether you have a new construction or a commercial setup. To achieve the greatest results, our painters only employ the best paints and painting supplies.


